Getting Ready for Spring – Putting Down Hay and Weedblocker

The weather on Saturday was kinda crazy. It started out fairly warm and then just kept getting colder.

Sometimes You Can’t Do What You Plan

We had planned to plant beets, peas and radish. The plan was to pull back the tarps and build beds to plant in. The silage tarp has been down for several weeks. Last weekend we added more tarps before the rain started. The plan was to roll back the tarps and build beds for the beets, peas and radish. Then we could plant in dry ground. Sounds like a good plan.

However, it was not a good plan. When we pulled back the silage tarp and the other tarps, what we found was some very wet ground. Once again I was unable to impose my timeline on the farm. I say that as a joke. Our transition from backyard gardening to a small scale farm has been quite a learning experience. I’ve found time and time again, that we can’t impose our timeline and our will on the farm. Instead we have to be flexible and understand that everything happens in due time.

Getting the Food Forest Ready for Spring

Our food forest area consists of a mulberry trees, elderberries, blackberries, raspberries and figs. There is also a hugelkultur mound at the edge. We started our food forest last year in a field with very established grass. The grass is good because it holds the soil in place but creates a few issues. The grass competes with the bushes and trees for resources. The grass also hides the drip irrigation lines and emitters, making it easy to hit with the lawnmower or weed eater. Keeping the grass cut in the immediate are around plants makes it easy to damage the plants if you get too close with the lawnmower or weed eater.

Our Solution

We spent the day putting down a biodegradable weed blocker. The weed blocker we use is a paper mulch from Chatham Farm Supply in Pittsboro, NC The weed blocker is manufactured by www.7springsfarm.com .

The steps:

  1. cut out a piece of the 4 foot wide paper that is 4 feet long, then put a cut in the middle of the paper that allowed us to lay the paper down around the plant.
  2. Put down hay on top of that paper, so the hay is at least 1 foot deep, and do it quickly before the window blows the paper away
  3. Once the plants have paper and hay around them then cut sheets to cover the grassy area between the string of plants (along the trellis or the drop line)
  4. Cover those sheets of paper with hay.

We originally tried doing a long length of paper, but the wind kept that from working. Doing small pieces worked much better and were easier to manage on a windy day.

Things go quicker when people don’t decide to take a nap in the field while it is snowing 🙂
Hay over paper under the blackberry trellis
Hay over paper along the elderberry and fig bushes with the drip irrigation feeder line sitting on top of the hay

Important Note about Using Hay or Straw in your Garden

It is really important to make sure that before using hay or stray in your garden, you find out what chemicals were sprayed on the hay as it was growing. Some of the chemicals used in the production of hay (which is typically used for livestock food) are safe for live stock but may kill the plants in your garden. Some farmers assume that safe for livestock means safe for the garden, but often that isn’t the case.

2022 Spring Homestead Experience

What a busy few days. When it comes to homesteading there is always a lot to learn and share. We worked on the following:

  • installed an anti-deer fence
  • installed 15 elderberry plants with a biodegradable mat around them with hay on top
  • planted 7 fig and 2 peach trees
  • planted a lantana in the pollinator garden
  • put down a 50′ x 100′ foot tarp in the vegetable garden area to solarize and help kill weeds before we plant in April

Thanks again to everyone who helped!

If you missed out on this one, join us this fall. Info soon at www.nchomestead experience

Elderberries with biodegradable weed mat and hay on top
Silage tarp over vegetable garden and new deer fence

New Tractor, Putting Up Blackberry Trellis and A-Frames

Getting a farm up and going has been a big project. Sometimes it seems like the world has gone crazy, but on the farm there is a peace and serenity. We’re getting ready for growing season and the plants don’t care about politics or ideology, they just want great soil, rain and sunshine. So after a day or working on the farm we get a break from all the covid and politics and it is wonderful.

Amazing there are flowers blooming on the farm in February

This was a busy week. We used our new BCS tractor for the first time. That went well. It should be a great tool for use in the garden.

Putting in the Blackberry Trellis

Having another set of hands made things so much easier. I drove the t-posts in the ground while Connie and her sister put the wire up.

Setting the wire between the t-posts
We’ll need to put flags on the wire so you can see it when walking through the blackberries

Using an A-Frame to Help Determine Fig Planting Locations

We are getting ready for our 2022 NC Homestead Experience. One of the tasks is to locate where the fig trees and elderberry plants go. I wanted to plan ahead with the locations so I can add swales. So I used an A frame level. It only took a few minutes to build it. This allowed me to place the trees at the same elevation line on the hill. Here is a great primer on a frames in permaculture

A-frame ready to use
Assembled using a bolt, wing nut and washer
Plumb line is made from paracord
Plastic coke bottle filled with water and a hole in the lid makes a great weight
Mark indicating when the bottom of the legs of the a-frame are level

Parting thought – plant a garden!

Covering the HugelKultur Mound

Let’s start off with what is a Hugelkultur mound. Here is a great video that explains Hugelkultur

Our First Hugelkultur Mound

Hugelkultur mound in the garden at our house

We built our first hugelkultur mound in our garden at home. The mound is about 35 feet long and used trees that we had cleared on the back of the property. It has worked great for growing squash. We use drip watering to keep the plants watered. We have noticed that the hugel mound requires more water than the conventional garden areas. I expect that to reverse as the logs in the hugelkultur mound (about 1-2 years since the trees were cut) decompose.

The Hugelkultur Mound at the Farm

My original goal with to build at least 2 large hugelkultur mounds on our hobby farm property. We had a great growing experience with the hugelkultur mound at our house, so why not try it on a larger scale.

When we put in the driveway, there were two problems what we were able to turn into opportunities. The first is what to do with the top soil that was removed before the membrane and gravel can go down. We also had to decide out what to do with the tree trunks and limbs from the trees that were cut down to build the driveway.

Perfect Opportunity

There was never going to be a better time to build the first hugelkultur mound on the new property. So we used the logs, limbs and top soil to build the first one. The mound ended up being 85 feet long, 30 feet wide and about 8 feet tall.

The hugelkultur mound starting to come alive

We installed drip irrigation and planted winter squash, watermelons, pumpkins and cantelopes. I was pleasantly surprised by the number of winter squash and pumpkins.

Getting Ready for the Growing Season

One of the tasks for Saturday was to cover the entire mound with a 35 x 100 foot silage cover. Of course it wasn’t windy until after we started spreading the silage cover. Do you remember going out into the parking lot in elementary school where your class surrounded a parachute? This felt pretty similar with the wind getting under the tarp.

Chasing the bubble where the wind got under the tarp
The wind did not make this any easier. But we were making progress

You can see the bumps where the wind kept getting under the tarp as we were getting it in place and held down.

Much better

Once the tarp was in place, we’ll leave it there until just before we plant at the end of April as way to suppress any weeds.

Shopping List – Main Items that you need to preserve food

Why – Cost of Food is Increasing, Availability is Decreasing

https://www.bloomberg.com/news/articles/2021-12-10/price-shock-at-the-meat-counter-worsens-u-s-inflation-jitters – as an example beef is up 20% this year

I’ve seen numbers from 6 to 20% for other sectors of the food supply.

Lets do the math. Here is one analysis:

  • $1 product in 2020 became a $1.20 product in 2021 (using 20% inflation) – i.e. your overall grocery bill went up 20% from 2020
  • becomes a $1.44 product in 2022 (using 20% inflation) – i.e. your overall grocery bill went up 44% from 2020
  • becomes a $1.728 product in 2023 (using 20% inflation) – i.e. your overall grocery bill went up 73% from 2020
  • becomes a $2.07 product in 2024 (using 20% inflation) – – i.e. your overall grocery bill went up 100.1% from 2020 (doubled in 3 years)

Maybe groceries prices will stabilize and maybe the supply chain issues will resolve themselves. I doubt it, but I obviously can’t predict the future. I can learn from history. The American empire is in decline and we have a few long decades ahead.

Thinking About The 2022 Growing Season

Looking forward to growing season, you can break the challenges down into 2 broad areas:

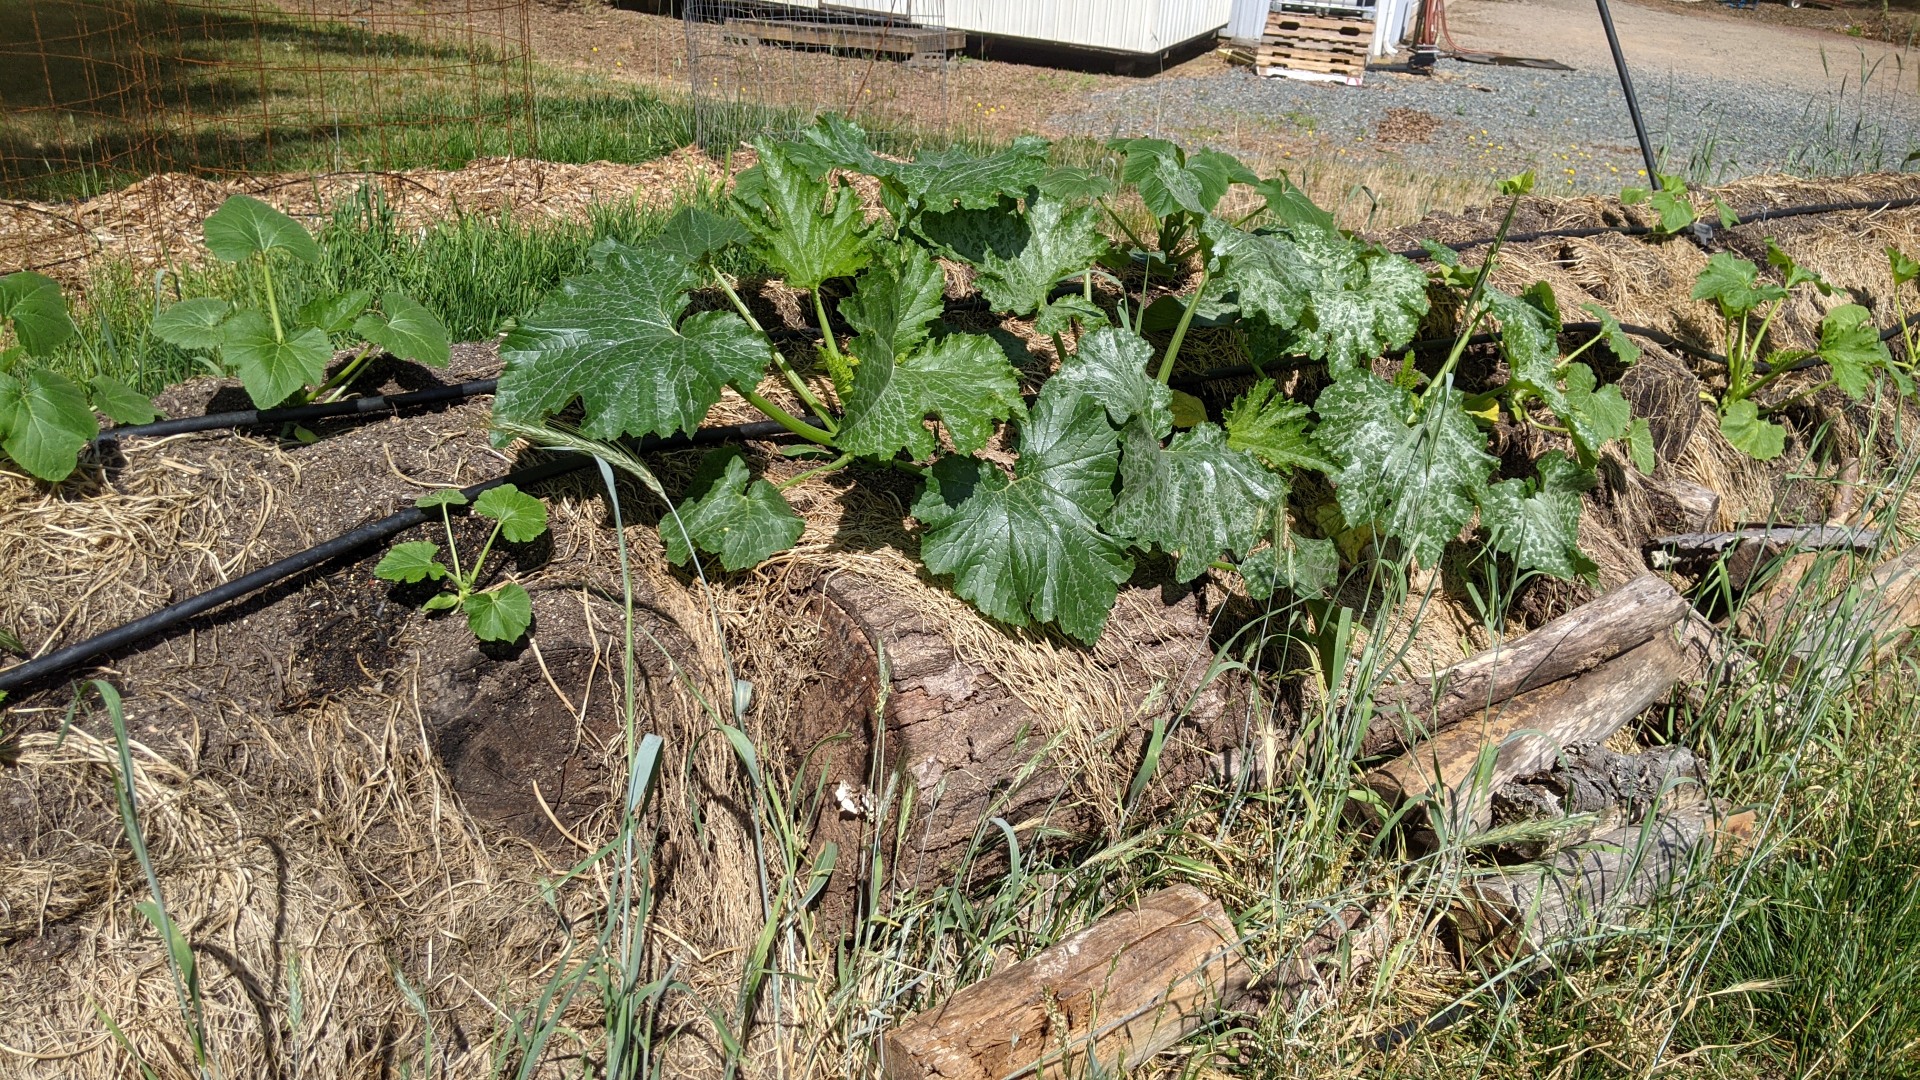
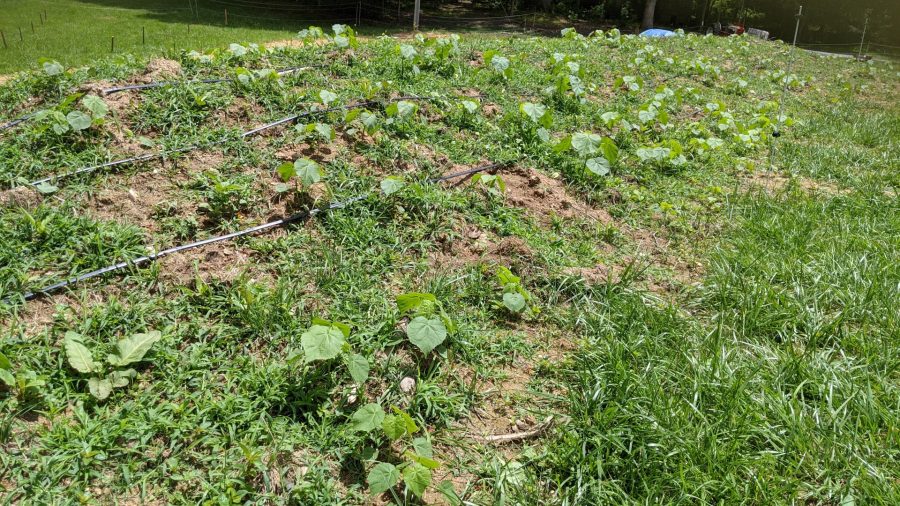
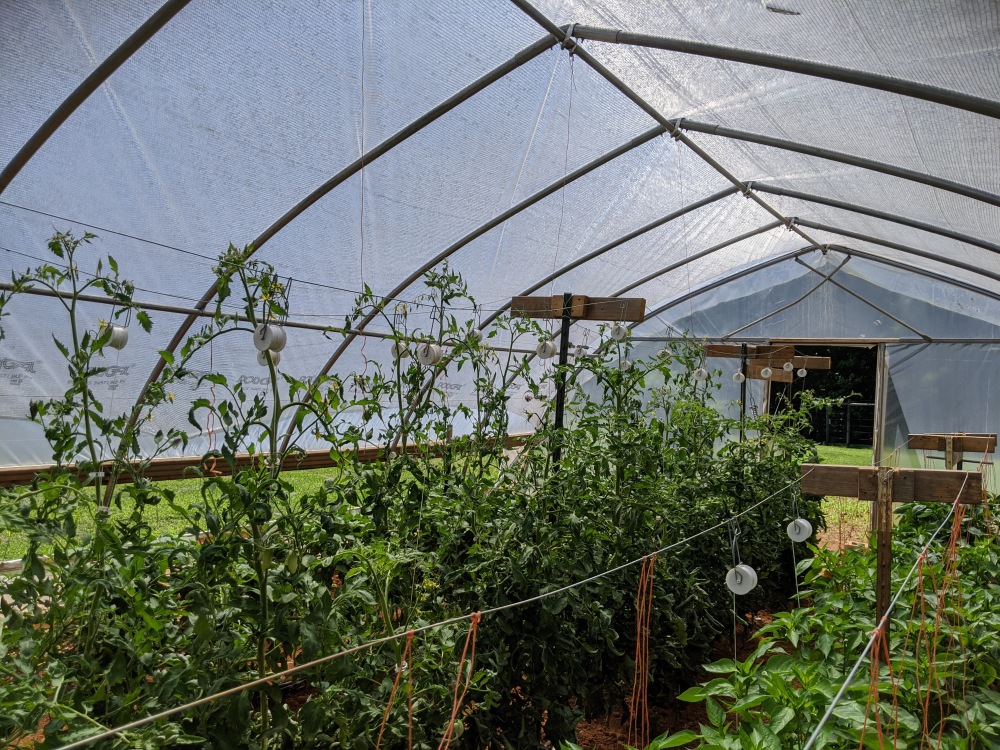
1) raising a surplus of food (planting, maintaining, harvesting)
2) preserving the food

One of the challenges in dealing with fresh food is preserving it in a timely basis. When veggies are ripe they have to be picked, maintained in a cool environment and then preserved within a few days. This is common knowledge, but as we’ve gotten better at gardening and preserved food, it becomes clearer how difficult and how much work it is to make that work within the time constraints.

Lets take a look at the steps to preserve food:

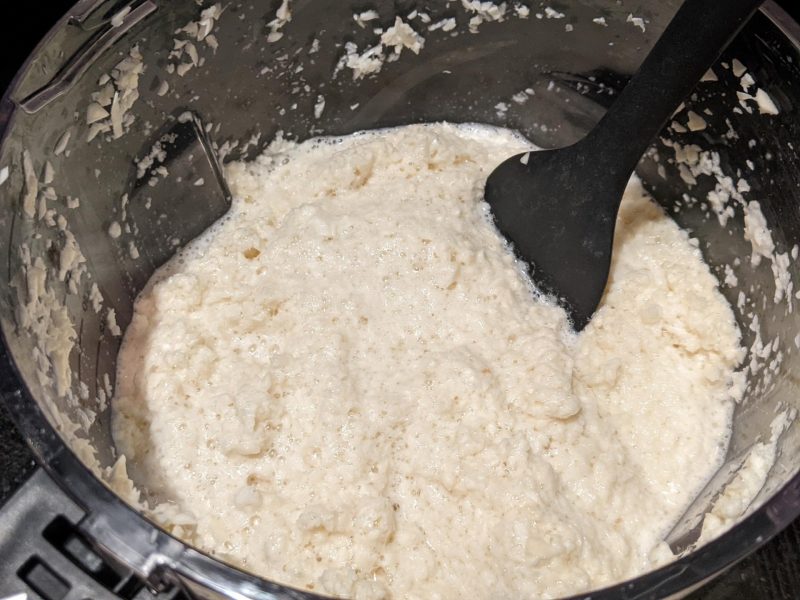
1) prep the food – wash, clean and cut it up into what ever sizes are needed, blanche or cook (if needed). This part of the process is the most labor intensive and has to be done soon after the items are picked (time sensitive). After this is done, many items can be frozen until it is time to can or preserve them. This is also the step the requires the least amount of equipment (at least until we run out of freezer space).

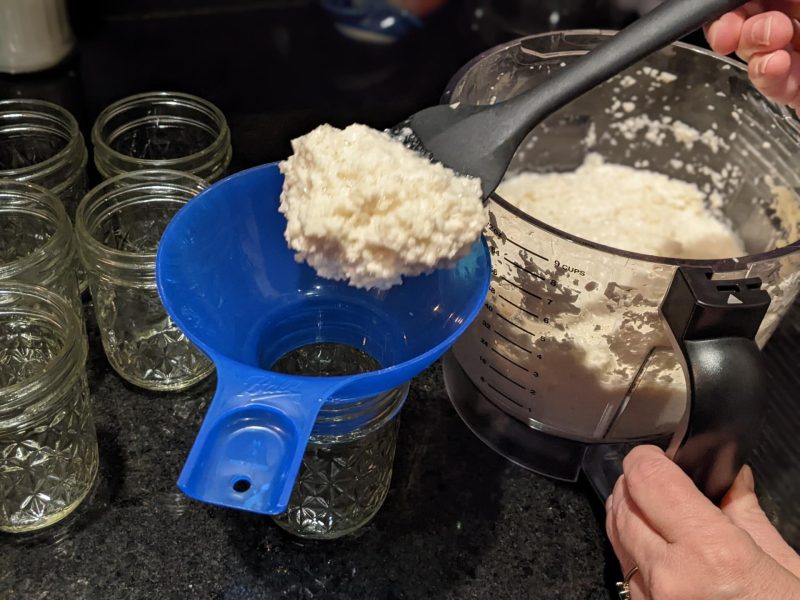
2) preserve the food – water bath can, pressure can, dehydrate, freeze dry, freeze, etc.

3) post process – for dehydrating this would mean putting it in jars with oxygen absorbers and evacuating the jar, for canning you let the jars sit and cool before putting them up for storage (the easy part)

Items to Consider Buying for Preserving Food this Year

I realize each one of you has different space limitations and budgets, but here is a list of items that you will keep and use for decades, some for the rest of your life. I’m not trying to push you into doing anything, just giving you information and encouraging you to use your own judgement to do what ever it is that you need to do.

If grocery prices continue to rise, then there will be a rapid increase in people gardening (or trying to garden) and a subsequent rise in people trying to purchase these items below. There was a period last year were you just couldn’t get jars, and if you could find them online then the prices were really high, even for off brand jars.

Also look at being able to preserve your food as a way to save money, especially as food prices go up. If you have trouble paying the bills now, could you live with your food prices doubling? Now is your chance to do something about it. Buy food when it is less expensive and plentiful (i.e. during the harvest) and save it for later.

General Things Needed

Freezer – no matter how you preserve your food, a freezer is important. It allows you to prep food and freeze it until you can get it preserved. Freezing is also a great way to store food.

I’ll break down the overall things you’ll need for each method of food preservation.
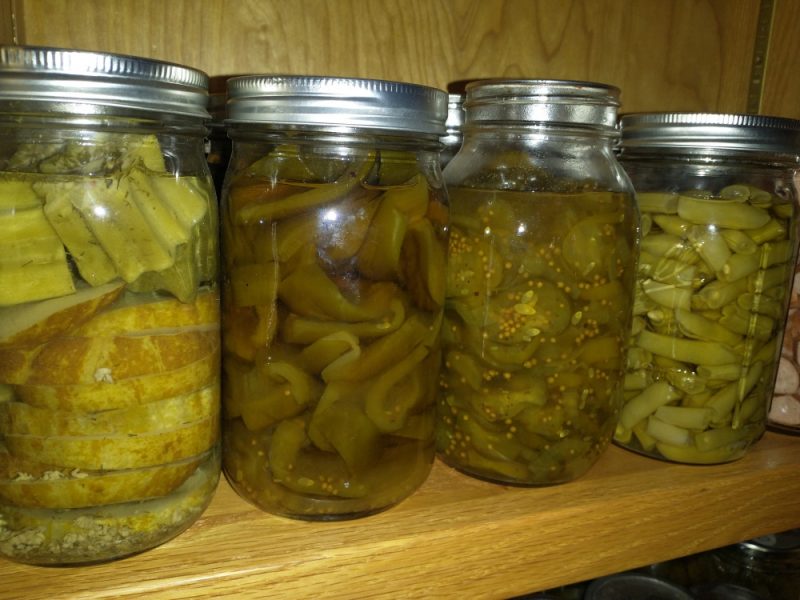
Canning

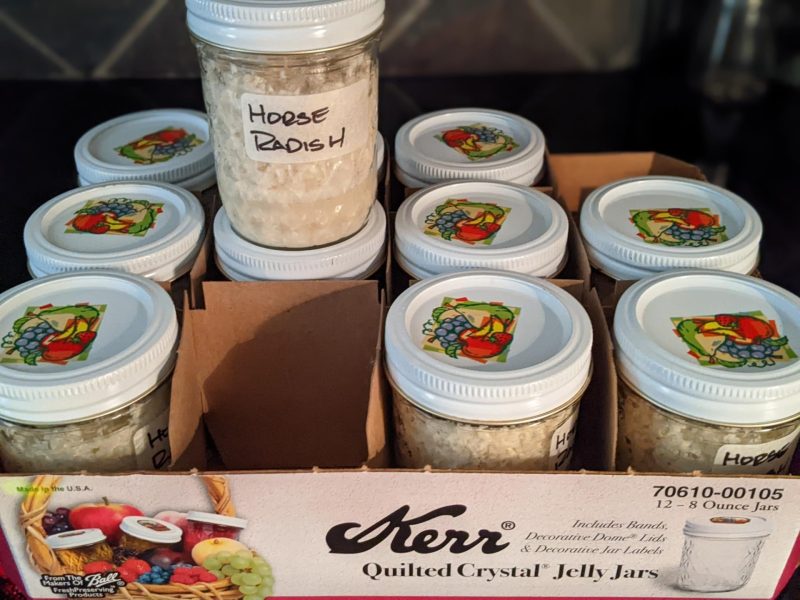
  • 1 quart wide mouth Mason jars (either Mason or Ball or Kerr [least prerred], avoiding off brand jars) – maybe 100-200 jars, they last forever as long as they aren’t damaged, just buy a few every week, get the regular mouth if you can’t get wide mouth
  • Lids and rings for the jars (brand name is preferred). You can also get resuable lids from Tattler (http://reusablecanninglids.com/)
  • Pressure canner (used for everything from squash to potatoes to meat – bigger is much better, measure your stove to make sure it fits – one that doesn’t require a seal is best). Some stoves won’t work with or support the weight of a canner. If this is the case at your home, you may have to can outdoors using a propane stove or cooker.

https://www.lehmans.com/product/41-12-qt-high-quality-pressure-canner/

  • Pot for water bath canning (high acidity things like tomatoes and pickles)

https://www.lehmans.com/product/black-enamelware-canner-215-qt/ – bigger is better, just measure your stove to make sure it fits

https://www.lehmans.com/product/enamelware-21-12-qt-canner-with-5-piece-tool-set/ – this one comes with jar grippers and funnels
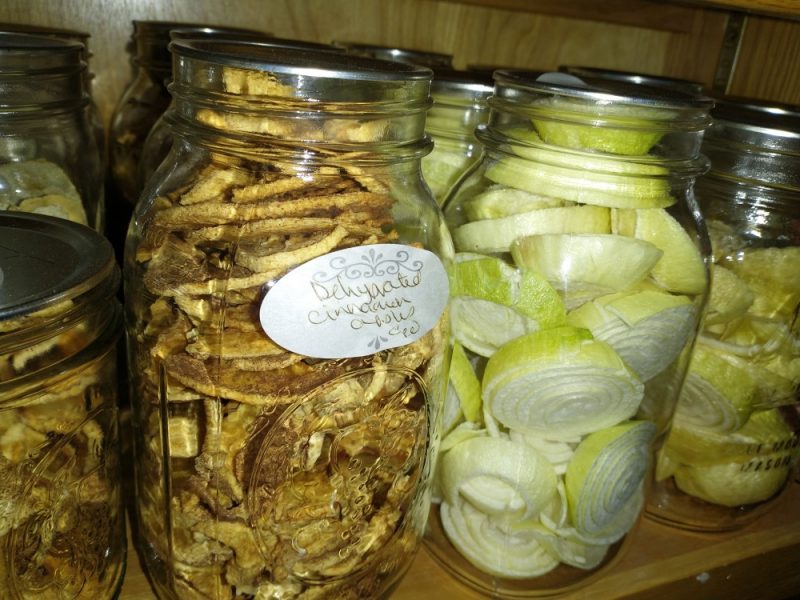
Dehydrating

  • One quart wide mouth mason jars (either Mason or Ball, avoiding off brand jars) – maybe 100-200 jars, they last forever as long as they aren’t damaged, just buy a few every week, get the regular mouth if you can’t get wide mouth. Look for them in your grocery store and buy a dozen every week, along with lids and rings
  • 1 or 2 dehydrators – during peak harvest having more than one is a win

https://excaliburdehydrator.com/ – gets good reviews
https://www.nesco.com/product/fd-80-snackmaster-square-food-dehydrator/ – we have this one with 9 trays
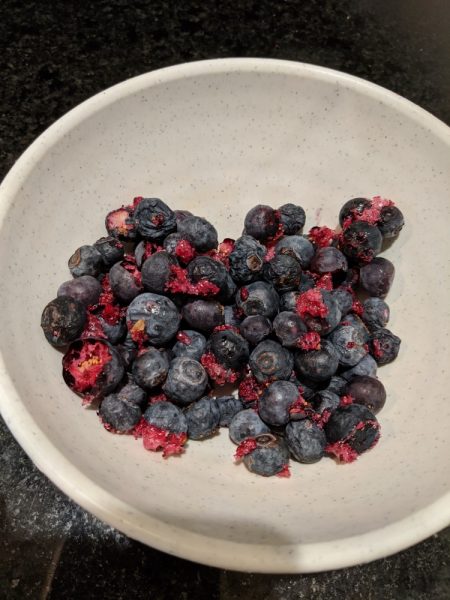
Freeze Drying

  • One quart wide mouth mason jars (either Mason or Ball, avoiding off brand jars) – maybe 100-200 jars, they last forever as long as they aren’t damaged, just buy a few every week, get the regular mouth if you can’t get wide mouth. Look for them in your grocery store and buy a dozen every week, along with lids and rings

NOTE: You maybe be able to find many of these things used, canners and jars. As long as jars aren’t chipped or broken they last forever. Often when someone stops canning they will give away their jars and pressure canners. If the pressure canner uses a gasket, you may be able to purchase a new one if the old one is unavailable or damaged.

Most grocery stores will have a limited supply of canning jars, just pick them up as they are available.

Use Your Judgment

Use your judgement and do what you can afford. I’m not suggesting in any way that you go in debt for these things. I am strongly suggesting that you buy jars / lids / rings and a dehydrator at a minimum. If you have the budget, then a freeze dryer would be an great investment. Freeze drying is the easiest process to do. Use your judgement. Hopefully that example inspires you to prosper in what could be a difficult few years.

audaces fortuna iuvat – fortune favors the bold

Parting thought – These links just products that I feel strongly enough to recommend. I have no relationship with any of these companies, other than being a customer.

Making Horseradish

My wife and I have this love / hate relationship dynamic with horseradish. We only eat a small amount of it, but we have several family members and friends that really like it. We mostly use it in Connie’s homemade cocktail sauce or on roast beef. Here is a chart showing the pros/cons with horseradish. This should help you decide if you want to grow it. My suggestion is to give it a try, just grow it in an area where you can mow around it to keep it contained where you want it. It will outgrow many garden plants, including asparagus – sorry Connie.

One strategy is to have enough plants that you can harvest about every 3 months. That way you can always have fresh horseradish on hand. The spring and summer harvests may not be as strong as the fall harvest but fresh still wins.

ProsCons
Easy to GrowCan be mildly invasive, best to grow it somewhere that you can mow around (easiest way to contain it, in my opinion)
Roots did deep in the soil, which is good to breakup soilIt can be invasive, so you need to make sure it doesn’t spread into unwanted parts of the garden
Very hardyIf it spreads into an unwanted area that you can’t mow then you have to week that area to control it
Deep roots help breakup soils to a depth of 1-2 feetHave to dig deeply to remove the roots for processing. Takes time to eliminate from an area because of the roots you miss when digging the plant up to process
Tastes great in cocktail sauce or on roast beef. Stores about 3 months (refrigerated). Very easy to grow and you can dig it up any time to make more horseradish sauceLimited uses. No way to preserve long term after processing (if there is, please let me know)
Easy to processCan be time consuming to peel smaller roots
Medicinal uses None
Can be harvested any time in the seasonBest if harvested late in the season for best flavor, but not a requirement. Look for yellow leaves, usually after first frost.
Limited storage life after processingEasy to store in the refrigerator
Plant pulls minerals from deep soil None
Leaves are mineral laden and make great compost, just leave them where they fallNone
Leaves are great supplement for chickens – https://tinyurl.com/2p85yuuzNone

Processing Horseradish

Step 1 – Wash roots and peel

I washed them outside first (they can be pretty dirty). Then wash them again in the sink. Make sure to remove any dark veins. Use safety glasses and good ventilation to protect your eyes.

Horseradish roots cleaned and ready

Step 2 – Chop the roots up so they fit in the food processor

Step 3 – Pulse in food processor until finely chopped but not mushy.

Wait at least 2 minutes before adding the vinegar. The longer you wait the hotter the horseradish will get.

Chopping it up in the food processor

Step 4 – Take one lb of horseradish and add 1/2 cup of white vinegar and 1 cup of cold water. Add approximately 1 teaspoon of kosher salt (adjust to your taste preference

Ready to pour into jars

Step 5 – Pour into jars – we use smaller jars because most of the time the amount of horseradish used is fairly small. These are great Christmas presents.

Filling the jars
Ready to go in the refrigerator

Enjoy!

Note – we’ve had limited success vacuum sealing the jars. I suspect that we would need to do the vacuum sealing process fairly slowly to avoid making a mess.

Ivermectin – How Safe is It Really?

Should you take it? Or run away?

Ivermectin Toxic or Not?

Here is some great info that you may not see too many places. Do some research and then you make the decision for yourself. Chris Maretenson has a great series of videos on Covid-19 (going back to early 2020). Below is his expert analysis of studies that evaluate the safety of Ivermectin:

How Does it Work

Dr. Mobeen Syed has done a series of videos on how Ivermectin works. Here is a straightforward description of how Ivermectin can help protect you against and help your body fight COVID-19.

Does It Really Work?

With all the negative media coverage, it is reasonable to ask “does it really work” or is it just for deworming horses. Dr. Pierre Kory was called to testify before a Senate committee. Click below to hear what he had to say.

How to Get a Prescription for Ivermectin

If you think you want to take Ivermectin as preventative or a treatment, then check out the FLCC Alliance They can guide you to a doctor in your state. This doctor can set up a teleconference with you to help you determine if Ivermectin is an appropriate preventative or treatment.

https://covid19criticalcare.com/ivermectin-in-covid-19/

Exercise Your Judgement

I’m a big believer in people. I think that you should do the research and decide for yourself. You have good judgement. Go use it. Don’t let me or some mob on Twitter or the media tell you how to think. You can decide for yourself. It may not be easy or you may be criticized but your health is important.

Make Your Own Chicken Feed

One great way to save money, it is not that difficult

Last year we started mixing our own chicken food. The journey towards making our own food started with researching how others make their own DIY chicken feed. I was able to narrow it down to three main criteria for the food:

  • price
  • protein content
  • nutritional supplements

Cost

It is much less expensive to make your own food. It takes some work and you have to store the grains for up to a year. However, you are also less reliant on the supply chain getting food to your local feed store. This also helps insulate you from the cost increases that we have seen several times on feed this year.

Nutritional Supplement

Fertrell makes a product called Poultry Nutri-Balancer. We used the nutri-balancer to help add in any nutrients that are missing in the grain mix that we feed our birds.

Calculating Protein in Food

The good news is that amount of protein in the common grains used in chicken food is well established and easy to find

GRAIN% Protein by Weight
Wheat15
Corn9
Oats13
Soybean Meal44
Sunflower Seed20-44

Spreadsheet to Make It Easier

I’ve had several requests for the spreadsheet that I made to develop my own recipe for our chicken feed. They spreadsheet helps you to

  • estimate the amount of food needed for a year
  • come up with a recipe that provides the correct amount of protein and nutritional supplements

Just click on the image of the spreadsheet below to download. Please send email me if you find a mistake or have a suggestion for improving the spreadsheet.

Click on the picture to download spreadsheet

Please note that different sunflower varieties have different levels of protein. It is also important that you don’t feed raw soybeans to your birds. Instead use soybeans that are roasted and ground up into meal.

One Consideration with Using Soy Beans

Phytoestrogens are present in soy beans. Phytoestrogens can trick the body into believing that they are actually estrogen. Phytoestrogens are passed through the chickens into the person consuming the eggs and meat from the chicken. The impact on us as people is not really well known. One way to avoid any issues is use sunflower seeds instead of soy beans.

Note

We don’t have a relationship with Fertrell other than as a paying customer. We just happen to use the their product in our feed.

Freeze Dryer Breaks Down During Harvest!

Why You Need a Spare Parts Kit and Lots of Trays

Freeze drying is a great way to preserve food. It is much easier than pressure canning while preserving more of the food value. A pressure canner is very simple and pretty much just requires heat and water to operate. Freeze dryers are automated and allow you to do other things while the freeze drying process is running.

Freeze dryers require reliable power (its a long process – 1-3 days) and a functioning freeze dryer. The “functioning freeze dryer” part may sound silly to say, but I mention this because a freeze dryer is a complex piece of equipment. A freeze dryer is very similar to to the heat pump that heats and cools your house plus a vacuum pump.

If your freeze dryer has a mechanical or electrical failure then you could be left in a situation where you are unable to process your harvest until after it is repaired.

Here is my experience with Harvest Right tech support.

  • Day 1 – Saturday – freeze drying quits and screen goes black. I login to Harvest Right website and create a tech support / trouble ticket
  • Day 3 – Monday – Receive email from Harvest Right and set up tech support call on Thursday
  • Day 6 – Thursday – Tech support call with Harvest Right to troubleshoot problem. Thankfully there is a workaround. There was a $45 charge for the tech support call
  • Day 14 – Parts ship from Harvest Right. Note it took 6 business days for the parts to ship
  • Day 20 – Parts scheduled to arrive

The tech support lady was knowledgeable and diagnosed the problem quickly. Thankfully there was a work around. Otherwise the freeze dryer would have been down for 20+ days.

What to Do When Your Freeze Dryer Breaks Down

There are several options to get through this period until you can repair your freeze dryer.

Option #1 – continue to fill trays and stack those trays in your freezer while you wait for replacement parts to arrive from Harvest Right.

Extra Trayshttps://harvestright.com/product/freeze-dryer-trays/

Stackershttps://www.freezedryingsupplies.com/collections/all-products/products/copy-of-freeze-dryer-tray-stackers-works-on-all-sizes

Both extra trays and stackers are purchases the will help you make the most of your freeze drying in regular times. When your garden is really producing or when local produce is plentiful, consider having a 5-6 sets of trays and some freezer space. That will help you deal with surges in available food.

Option #2 – keep spare parts on hand so you can repair the freeze dryer without having to wait for a tech support call and shipment of spare parts from Harvest Right

Option #3 – come up with a workaround to get the freeze dryer back up and running. Harvest Right was great about helping with this

Prevention / Recovery

Having spare parts on hand is a great insurance policy. The tech support lady at Harvest Right took time to help create list of spare parts. These are parts that are often replaced. There is no way to guarantee that the spare parts will be the ones that are needed if there is a breakdown in the future, but it is good insurance to have these. Also, parts like the door gasket and vacuum hose o-ring will eventually need to be replaced.

Here are some commonly replaced spare parts

Spare Parts KitMedium Harvest Right Freeze Dryer – 2020 Model

Harvest Right Part #DescriptionQuantityUnit PriceExtended Price
ELC-R0006Power Switch (M, L) 2.000 Units 7.000 50.00 7.0% $ 7.002714
U-UFD-WA-007Power Harness (M) – Medium FD Power Cable216.7533.5
ELC-B0003Relay Board 19595
Part # N/ACapacitive Kit- USB & Touchscreen1150150
300101Door Gasket (M) – Medium Door Gasket14545
JIC Hose O-RingVacuum Hose (JIC, O-Ring)41.757
HDW-V0001Valve (Ball, Drain)11313
OP-VLU11060Oil Pump (Standard, 110V 60Hz) – Standard Harvest Right Oil Pump1295295
HR-VP-OILHR Oil – Food Safe Vacuum Pump Oil413.7555
U-UFD-HS-004Vacuum Hose (Standard, JIC, 3/8″ x 36″)121.9921.99
Total$729.49

Conclusion

$729 is a lot of money. But when you look the timetable above, it is very possible that a repair could take 20+ days. We had several sets of trays, cookie sheets and zip lock bags and that got us through the 6 calendar days to get the freeze dryer back up and running. Waiting 20+ days would be rough, especially during peak harvest.

Suggestion

If you have to pay for a tech support call with Harvest Right, then make sure to schedule a follow call (during your initial call) to discuss any issues that you have installing any replacement parts. That way you avoid an additional $45 charge and a delay in setting up the 2nd call.

Disclaimer

I have received no compensation, products or other considerations from any company mentioned above. If Harvest Right wants to send a freeze dryer or more medium trays, that would be great! Ditto for Freeze Drying Supplies. The links take you directly to the company website with no affiliate relationship.